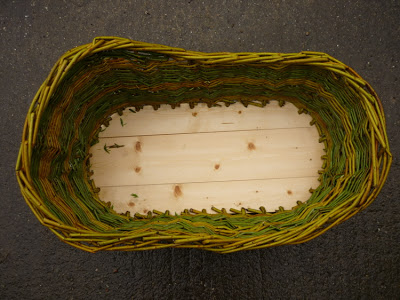
With all the willow we have recently cut I thought I would try my hand at making a crib. From this angle it looks just lovely and its difficult to see the wonky parts!
I assumed the internets, being the place of extreme knowledge that it is, would certainly have instructions for how to weave a crib on it. Alas, I was left with only a picture of someone's finished mini-crib so had to work it out myself with my basic and did-I-mention-rather-wonky? weaving skills.
But I thought I would put together a photo-diary of it anyhow...meant to help someone like myself, who can do basic weaving.
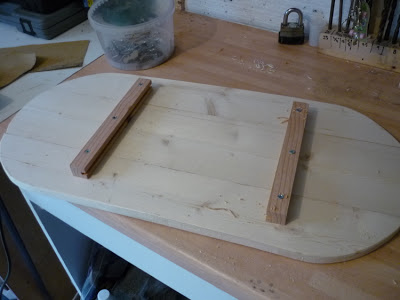
I started by making a base. I made an oval paper template 67cm x 30cm and used it to trace around onto tongued and grooved floorboards, then cut them out to shape.

Next I planed and sanded the edges...

...screwed a couple of battens on underneath to hold the boards together (I would recommend placing these closer to the ends for more stability)...
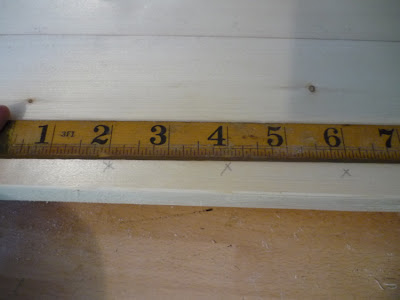
...measured around the edge and marked spots for holes every 2" or so...(Already into the impetric measuring system - a mix of imperial and metric...the best.)
...drilled them with the largest bit I could find - 9.5mm I think...
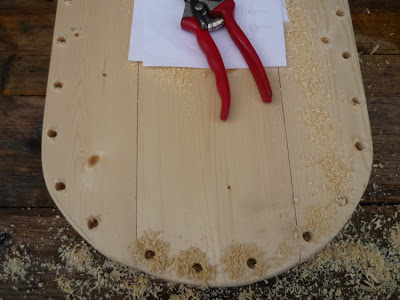
...and threaded the largest uprights I could find into it, tips down and butts up (those are basketry terms for you novices, the butt is the thickest and lowest end of a willow rod, the tip is, well, the tip obviously)...
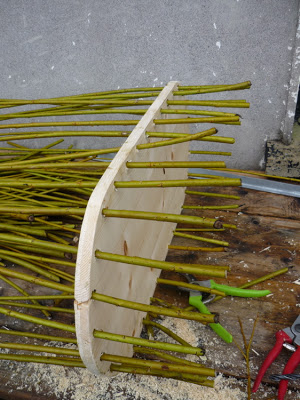
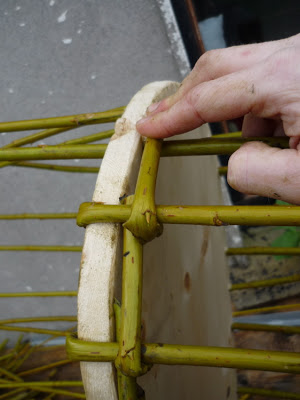
Then I began by sticking a sacrificial bit of willow in (to facilitate weaving the last upright in) and folding up the tip end, and taking the butt end around it and the sacrificial piece and towards the next rod - this is described better below. (In the picture it is behind the next rod, but should be in front.)
It is more obvious in the next few photos....the tip end is folded up around the wooden base and forms a new upright...
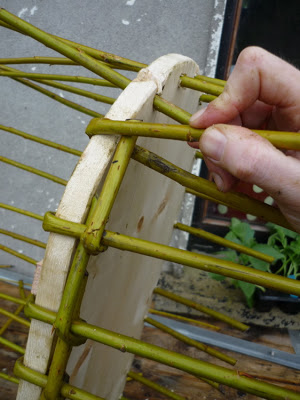
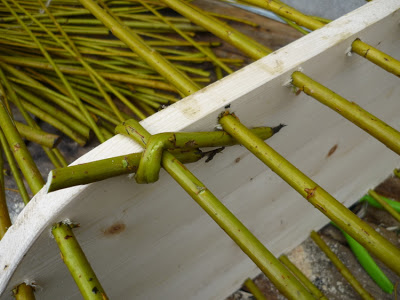
...then the butt end of the same rod comes around this new upright and is folded over to meet the next rod...
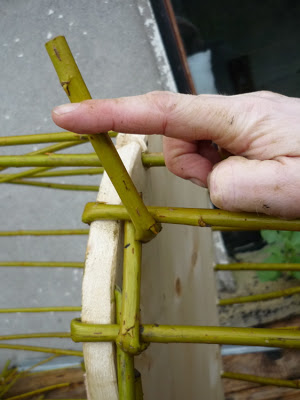
...like so.
This is repeated all the way around.

Then the base is ready for weaving.
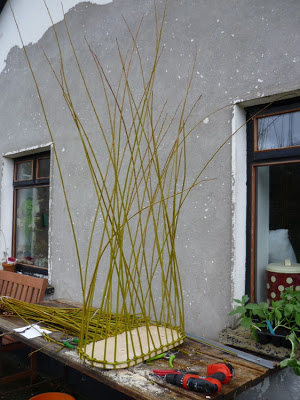
Next I used paired weavers for a nice tight weave. Although it can be slow, paired weaving is generally my favourite as you keep the most even shape on your basket.

Two rods are used at the same time. One goes in front and one goes behind and they are twisted together between each upright.

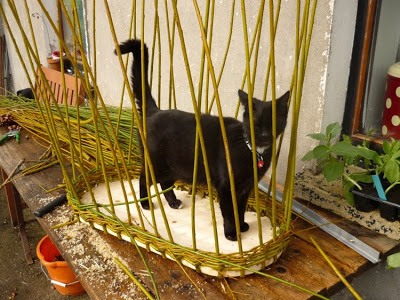
Ubiquitous cat shot.
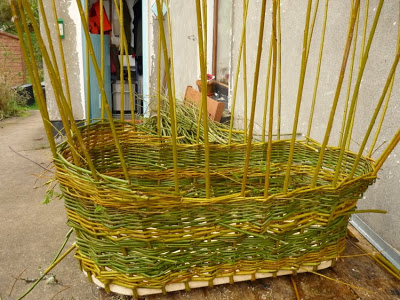
I didn't photograph this, but I put in three extra rods - 2 where the hood of the basket was going and one on the other end. The main reason was because I am not very good at controlling how wide the basket goes so this helped widen it as it was woven, and also gave me an uneven number of uprights which meant I could try different methods of weaving.
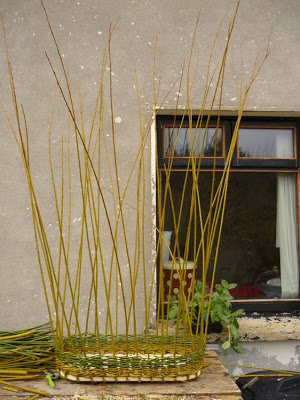
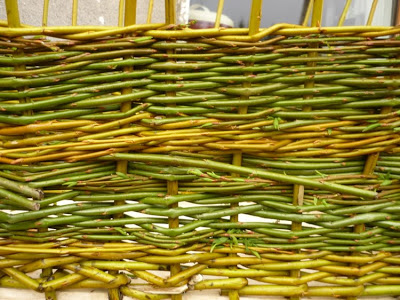
You can see in the green section below, I used four or five rods at once, weaving in and out, which covers a lot of ground fast. Then I went back to paired weavers.

And in the top green section here, I tried some French randing. (This is where you put in the same amount of weavers as uprights and weave them all around the basket simultaneously.) Then I went back to the yellow willow for some strong paired weaving for the top.
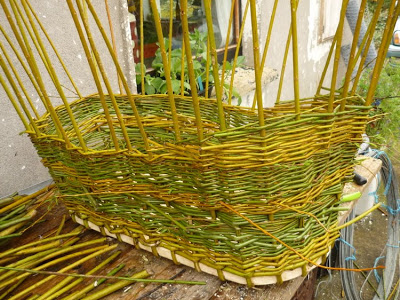
For the hood, I just made it up as I went along, weaving back and forth with paired weavers on the left half of the basket as pictured below, leaving out another upright each time I changed direction, until I was happy with how high it was.
You can see it a bit better here...
Then I finished it off with a five-behind-two border. I love borders. They make a wonky basket suddenly look amazing.
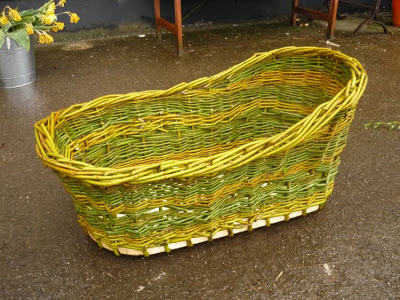
Overall it was a lot of work, but a pleasing result. And from a certain angle it looks very even, so that's good enough for me!