• HOME
    • About Maker Magpie
    • Contact
    • Newsletter
  • Sew
  • Felt
  • Knit
  • Visual Arts
  • Workshops
  • Shop
  • Blog
Menu

maker magpie

Street Address
Co. Roscommon
Phone Number
art * craft * nature * connection

Your Custom Text Here

maker magpie

  • HOME
  • About
    • About Maker Magpie
    • Contact
    • Newsletter
  • Sew
  • Felt
  • Knit
  • Visual Arts
  • Workshops
  • Shop
  • Blog

Daffodil Sewing Pattern

March 27, 2015 Caroline Walshe

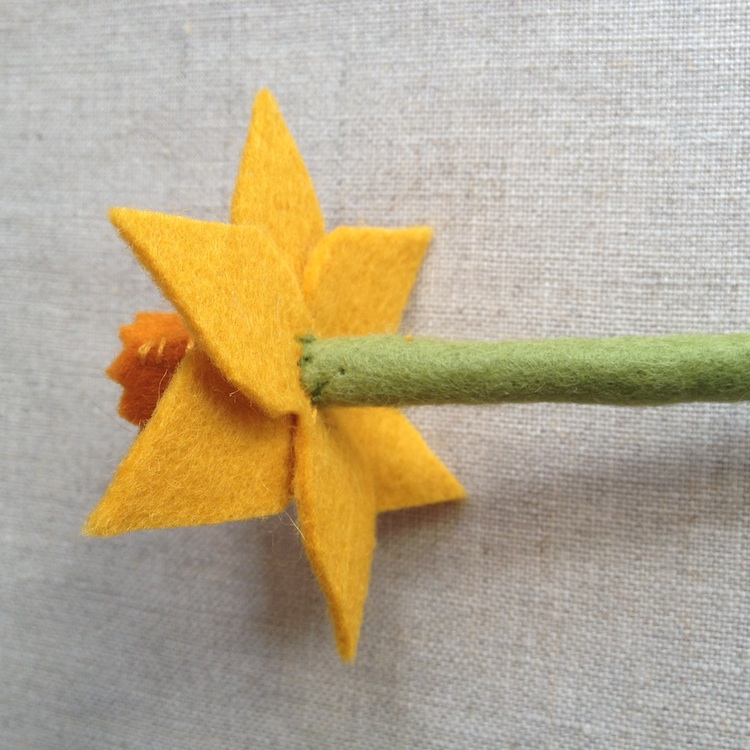
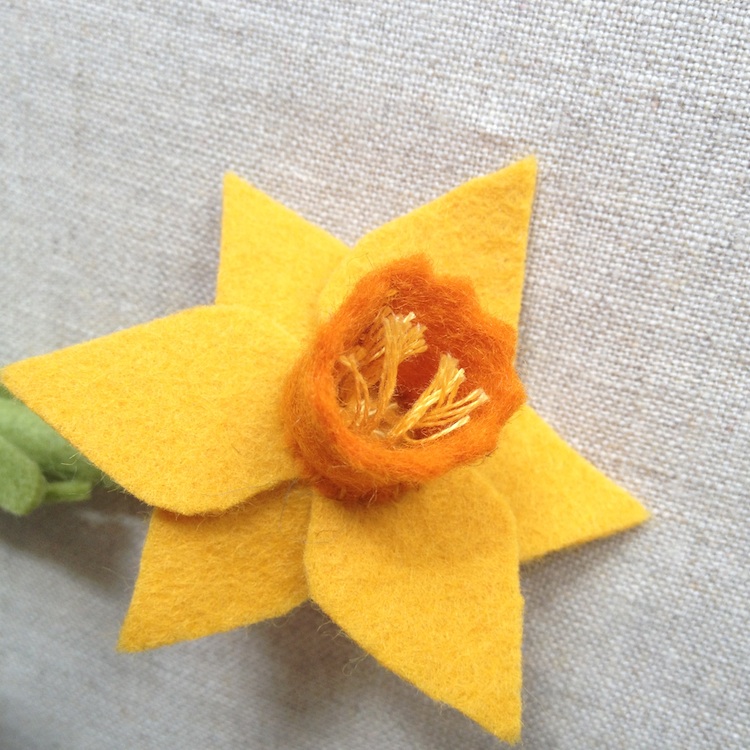
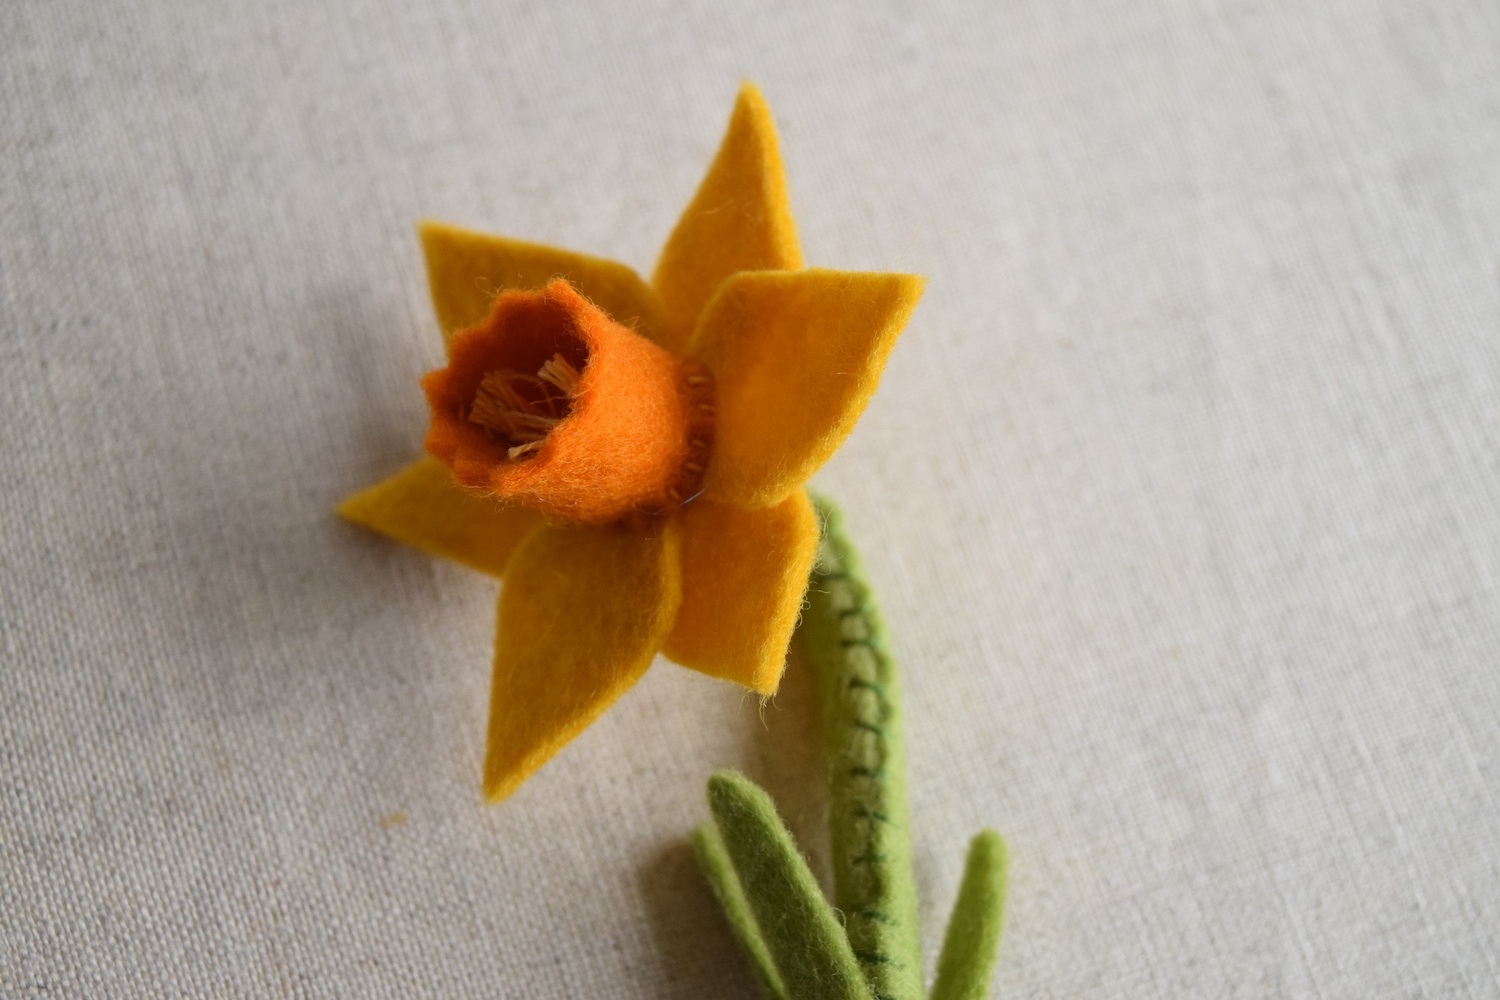
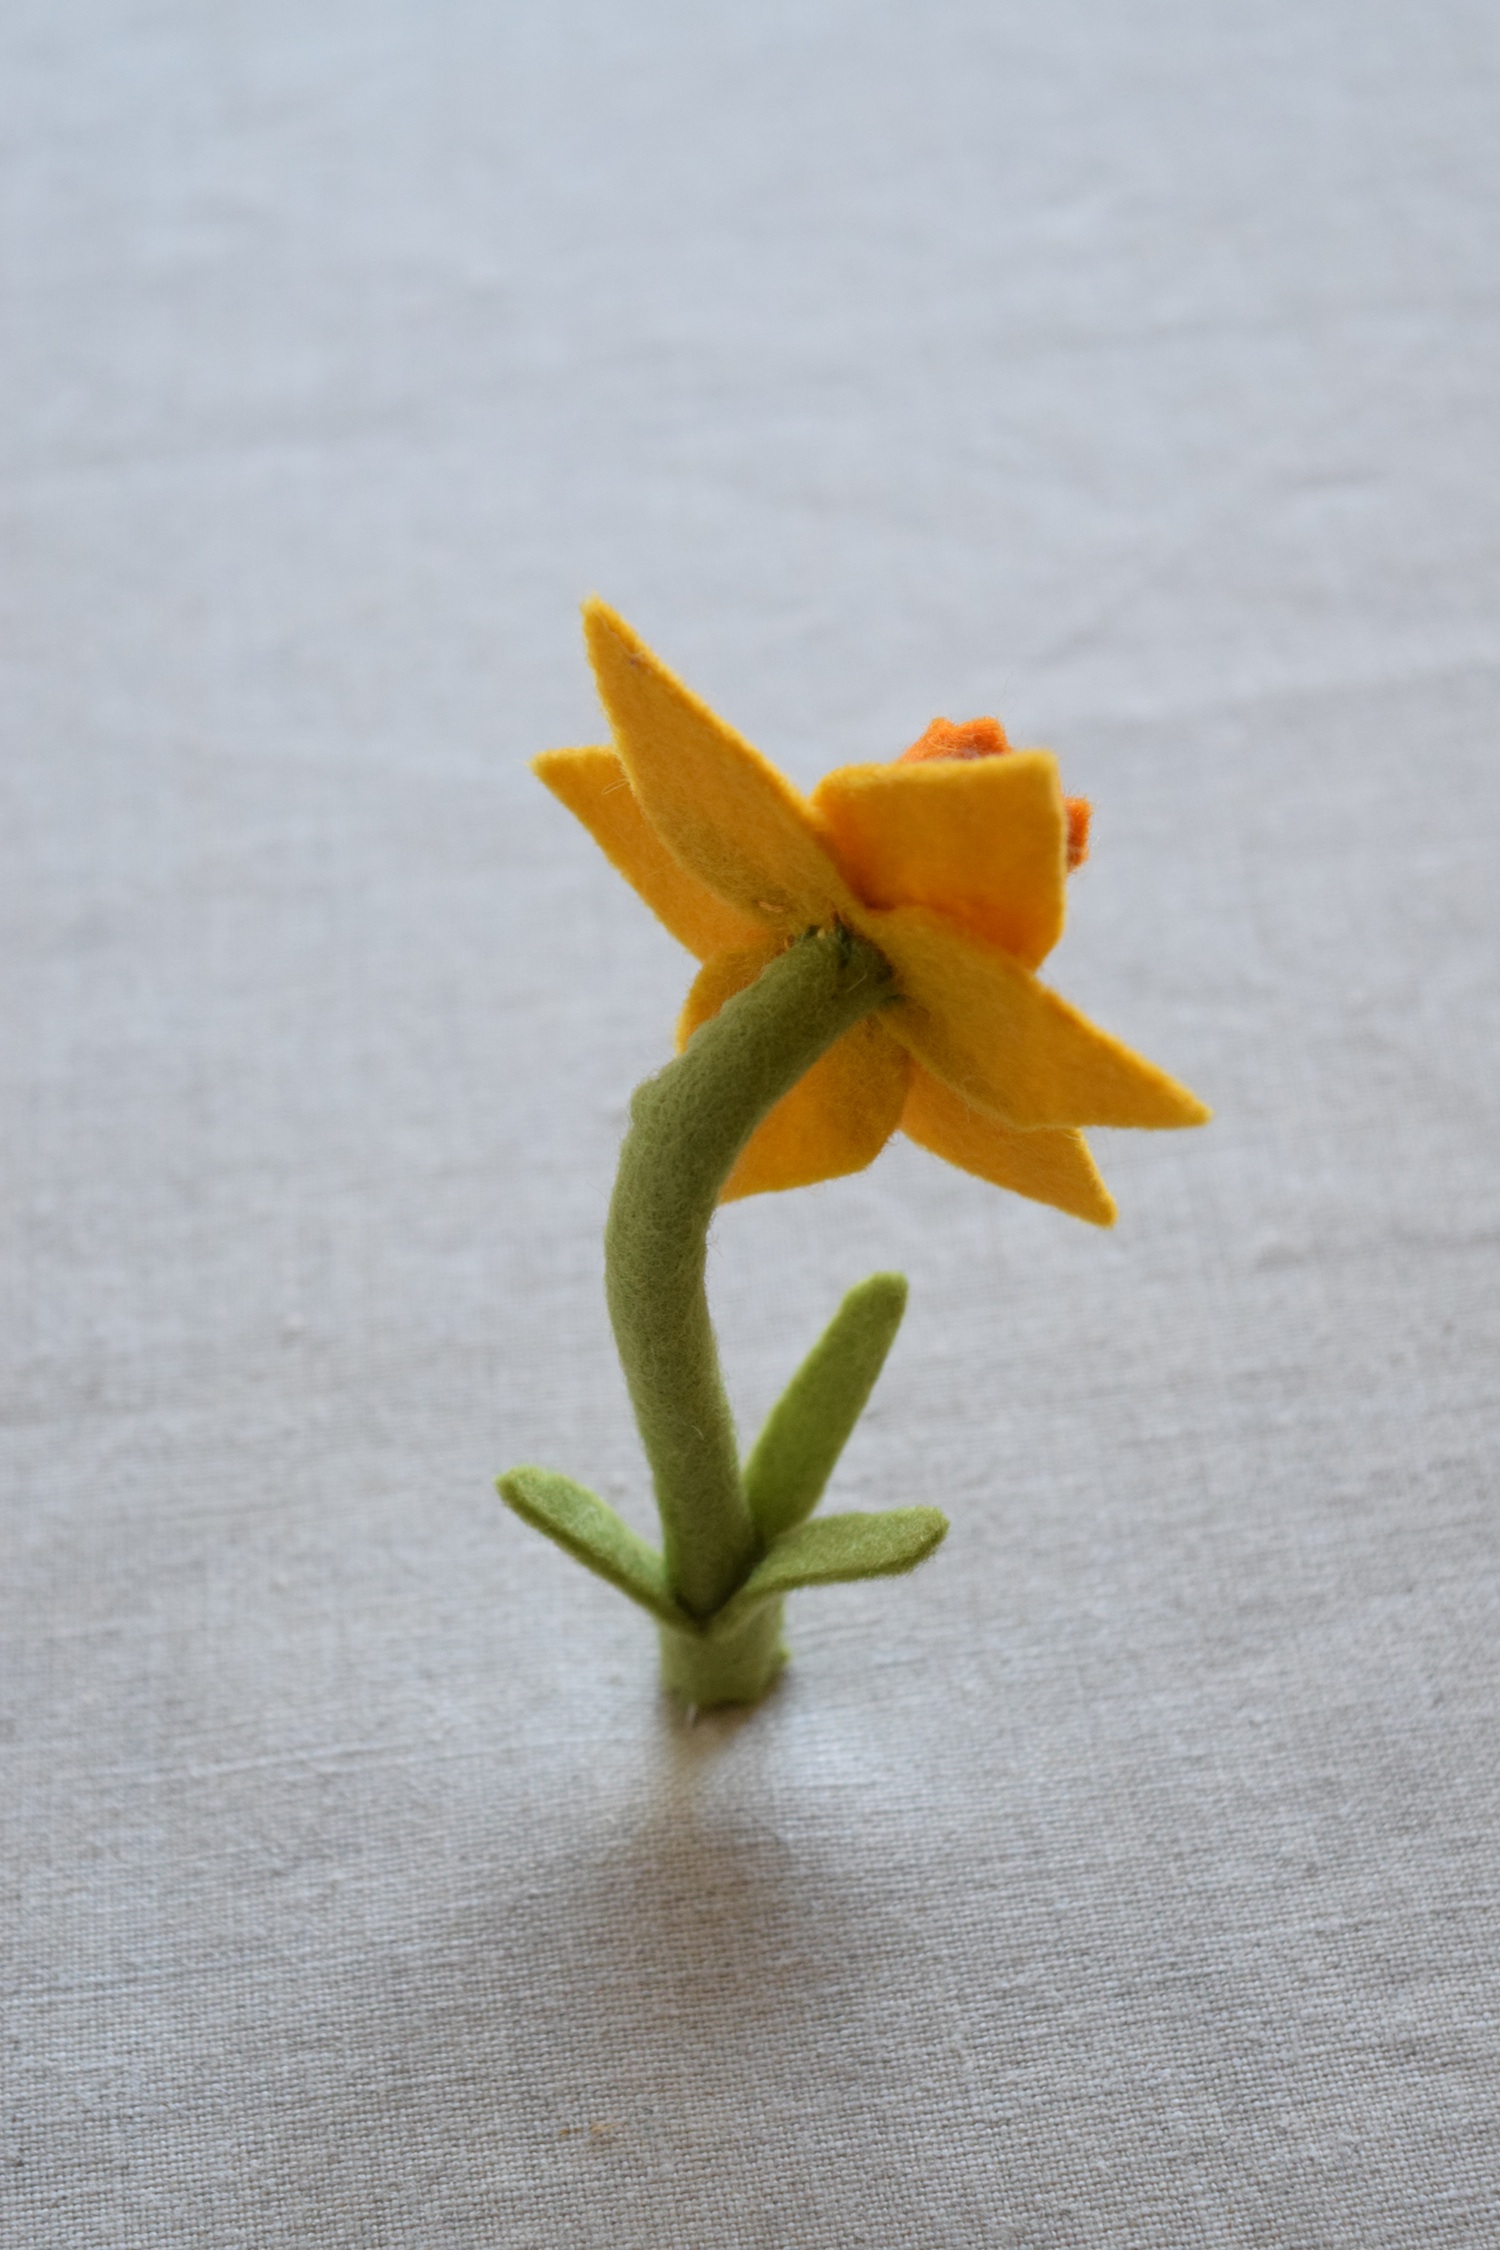
When we moved into our home some years back it was the middle of winter. As spring arrived we slowly discovered what plants the previous inhabitants had planted. Among the first was the enormous quantity of daffodils lining the driveway. I love when the daffodils come out, it is a sign that winter is finally over. So here is a free pattern for a felt daffodil to celebrate the arrival of Spring!

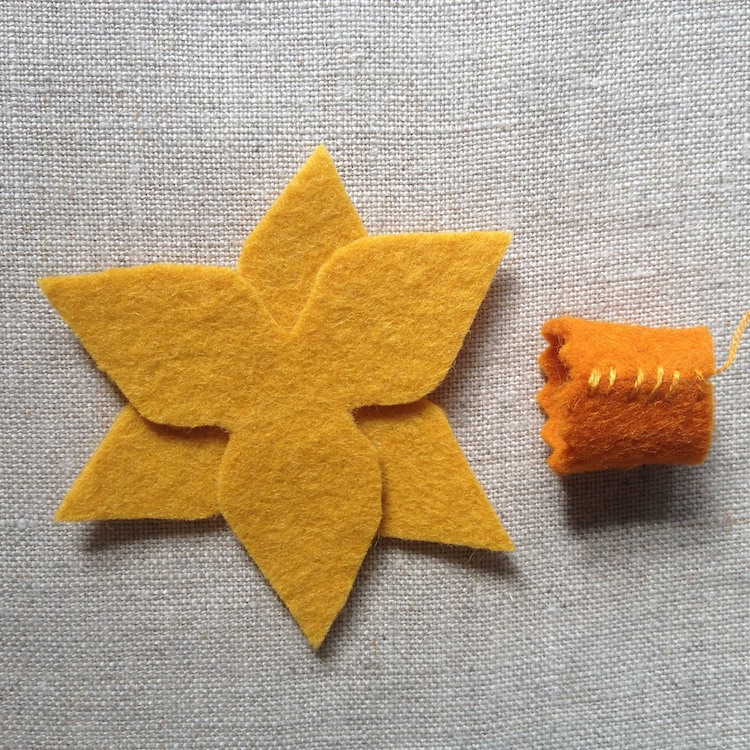
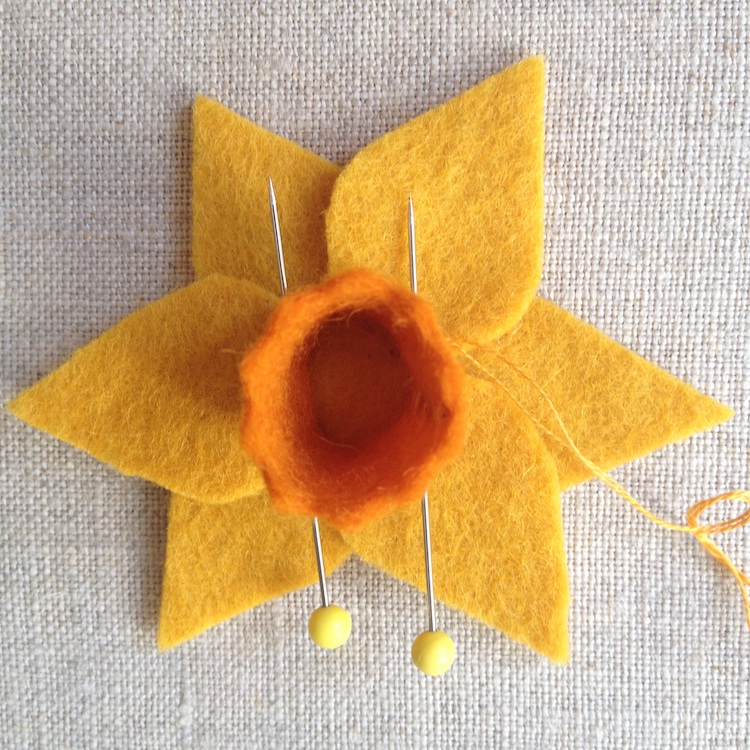
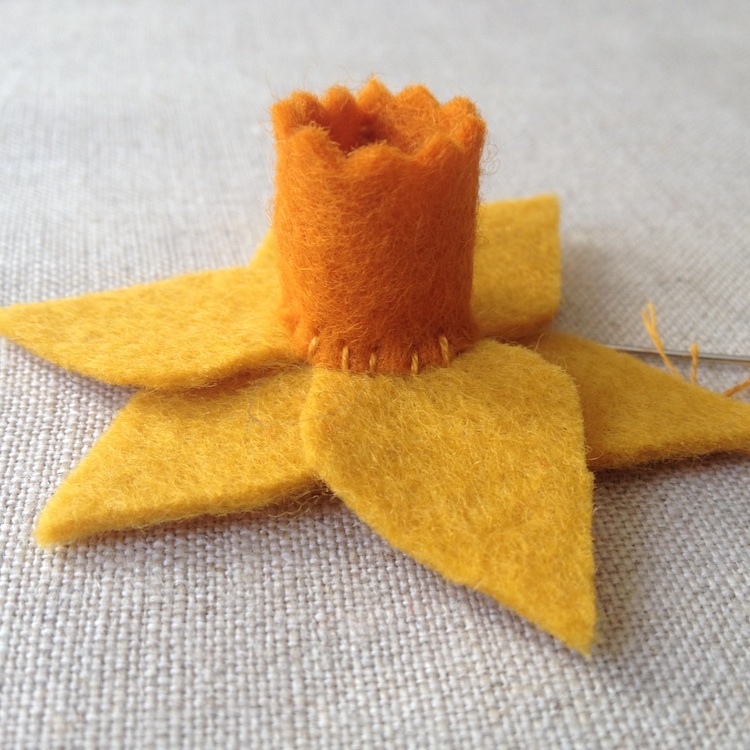
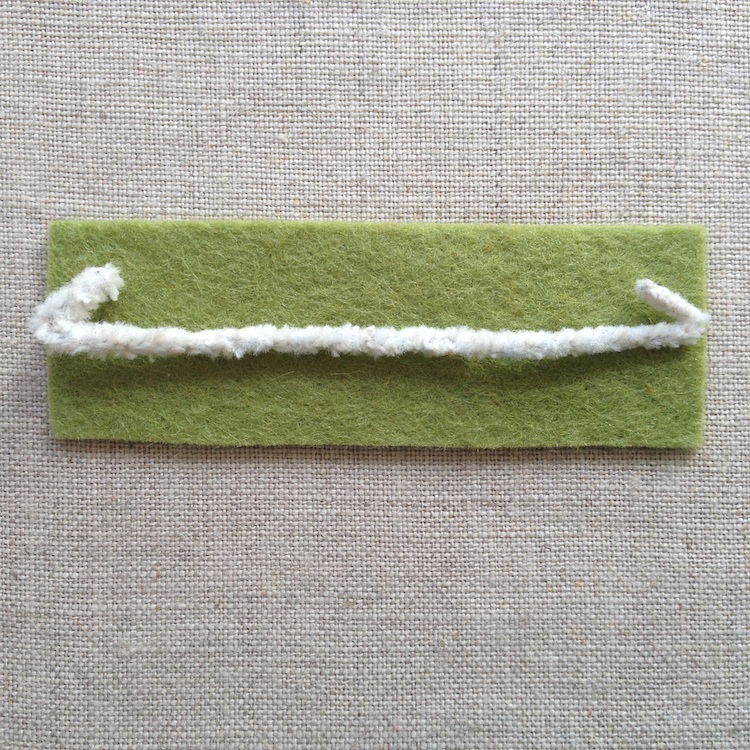
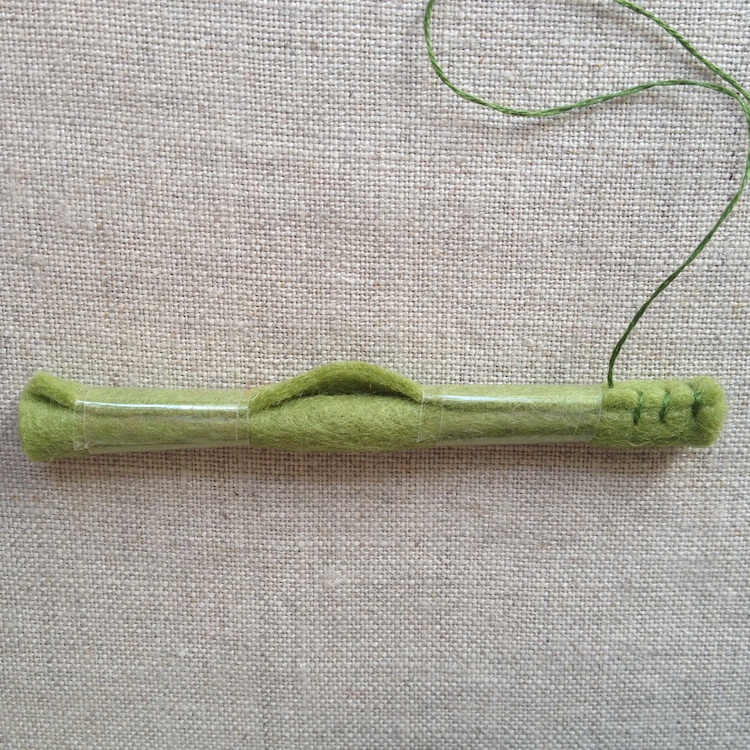
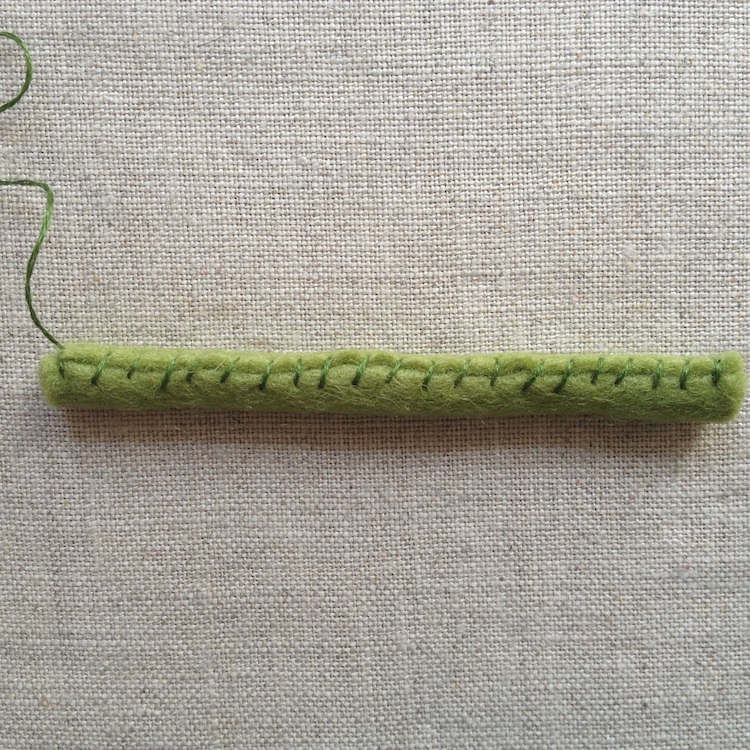
The pattern is a slideshow. Just click the forward and backwards arrows to see the images, and hover the mouse over the images to see the text for each step. 
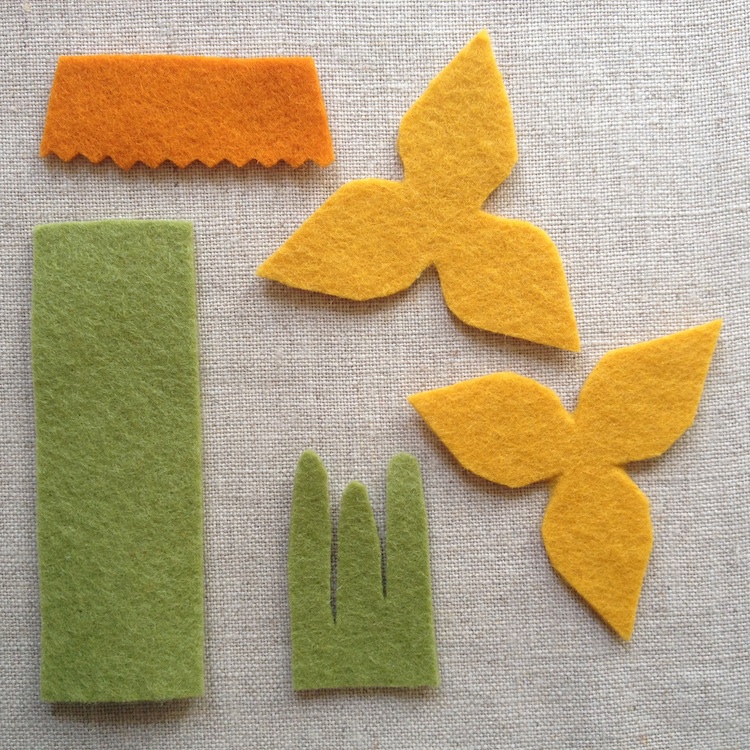
You will need:

  • Pattern Template - click here to download it as a PDF
  • Some small scraps of green, yellow and orange felt with matching embroidery threads
  • A pipe cleaner

Enjoy!

Cut your felt out
Cut your felt out

Print out the template and check it is the correct size using the 1"/2.5cm marking. Cut out your felt. Cut two petals in yellow, a stem and leaves in green and one centre in orange. 

Assemble centre
Assemble centre

Sew the two short ends of the centre together using 2 strands of orange thread and whip stitch. Begin at the jagged edge and sew towards the flat edge. Leave your thread connected to use in the next step.

Begin assembling the flower

Place the two petals on top of each other as shown in the previous step and pin the centre on. Begin sewing around the base of the centre, sewing through all layers with the thread from the previous step.

Finish assembling the flower

Finish sewing around the centre. Lose your thread when you are done.

Cut a pipe cleaner for the stem

Cut a pipe cleaner slightly longer than the stem and fold the two ends back, so there are no sharp ends sticking out.

Sew the stem shut
Sew the stem shut

Roll the stem tightly around the pipe cleaner and use tape to hold it shut. Stitch it closed using whip stitch and 2 strands of green thread.

Finished stem
Finished stem

At the end, fasten off your thread but do not cut it.

Sew flower onto stem

Use the green thread to sew the flower onto the stem. Make small stitches through the top of the stem and the underneath of the flower. Check that your thread only shows inside the centre of the flower - so you don't end up with green stitches visible on the yellow petals.

Sew the leaves on
Sew the leaves on

Wrap the bottom of the stem with the leaves and sew in place. Sew all the way around the base and sew a little way up the two sides of the leaves as shown. Lose your thread.

Add stamen (optional)

If you like you can add stamen. Sew through the centre of the petals with 6 strands of yellow thread. Leave 3"/7.5cm of thread hanging out and bring your needle back out the centre to the front of the flower. Knot the two ends of the thread together. Cut so that the threads are the same length as the centre. Repeat 2 more times. 

Bend your stem and you are done!

Cut your felt out Assemble centre Begin assembling the flower Finish assembling the flower Cut a pipe cleaner for the stem Sew the stem shut Finished stem Sew flower onto stem Sew the leaves on Add stamen (optional)
daffodil-sewing-pattern-4.jpg
daffodil-sewing-pattern-3.jpg
daffodil-sewing-pattern-2.jpg

© Caroline Walshe, 2015. All rights reserved. This pattern is for personal use only and may not be used to make items for sale. Thanks in advance for respecting my copyright.

← Spring things..Hello Spring! →

Copyright  © 2015 Caroline Walshe, all rights reserved.